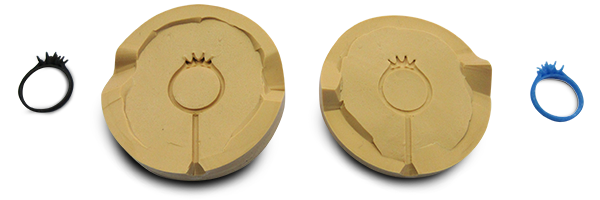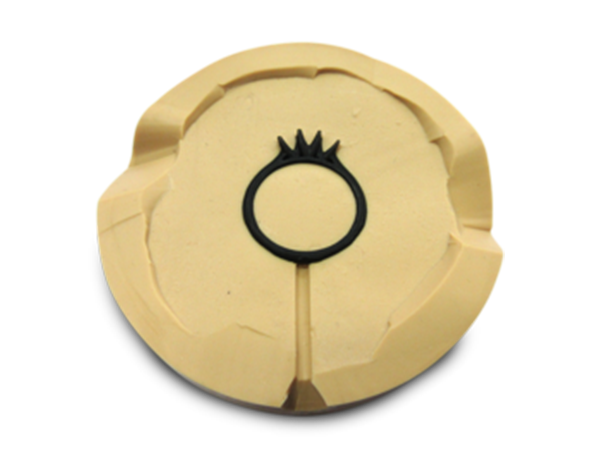
For decades, making Jewellery patterns out wax for direct casting was a dominant method. The skilled Jewellers need to skilfully craft hand-drawn designs . This method requires a lot of skills and time.
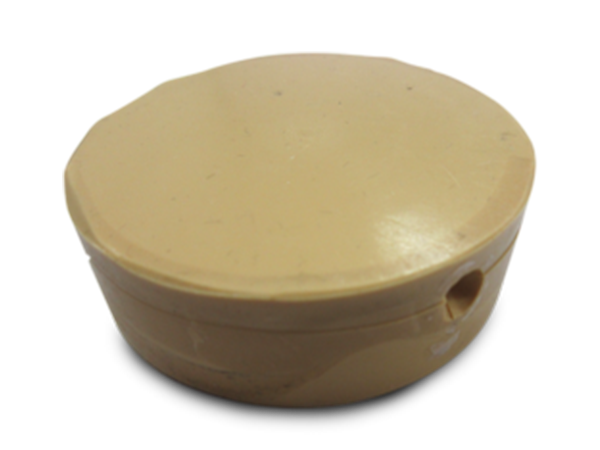
By entering into a digital era, Jewellers could design their ideas by 3D design software like AutoCad 3D or Rhino 3D. Also some years later CNC milling machines have been introduced to manufacture wax patterns automatically. Digital 3D design and CNC milling saves a lot of time and labour. However, there were still some limits on complexity of designs and speed of manufacturing.
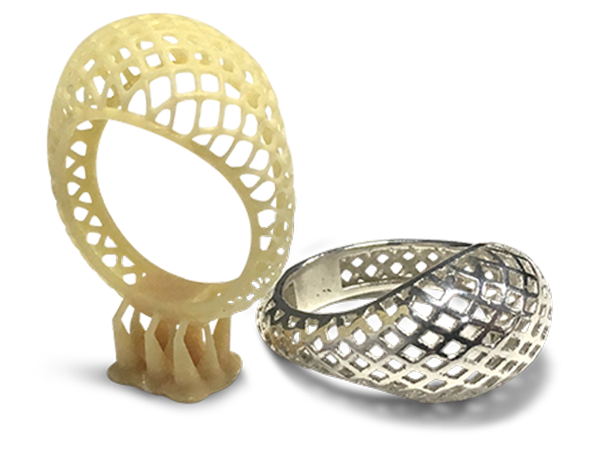
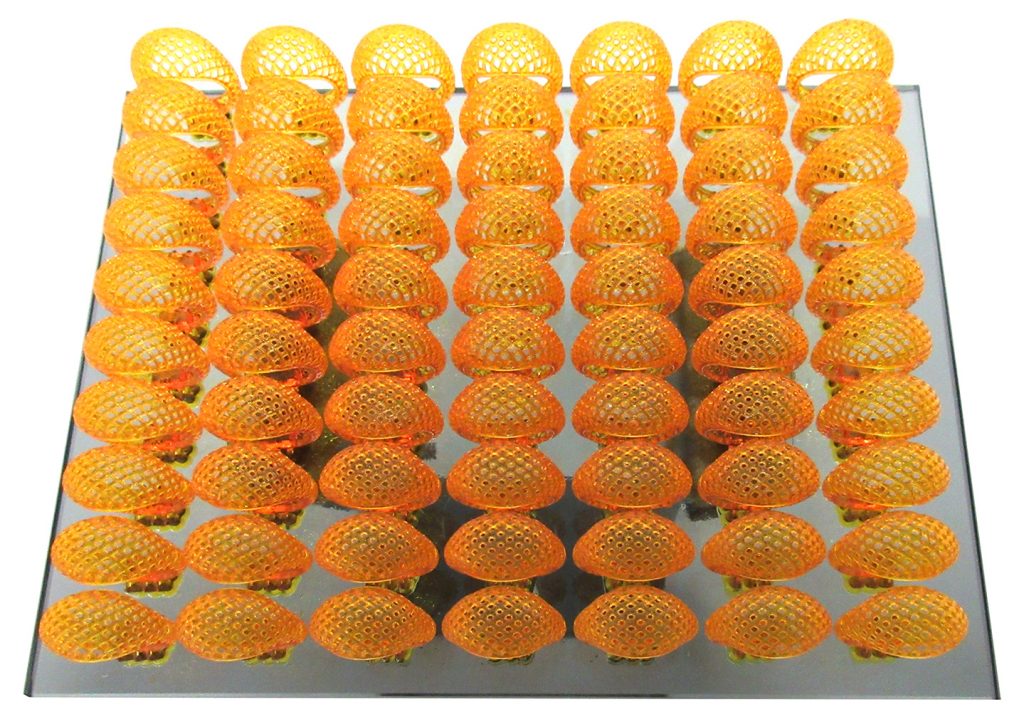
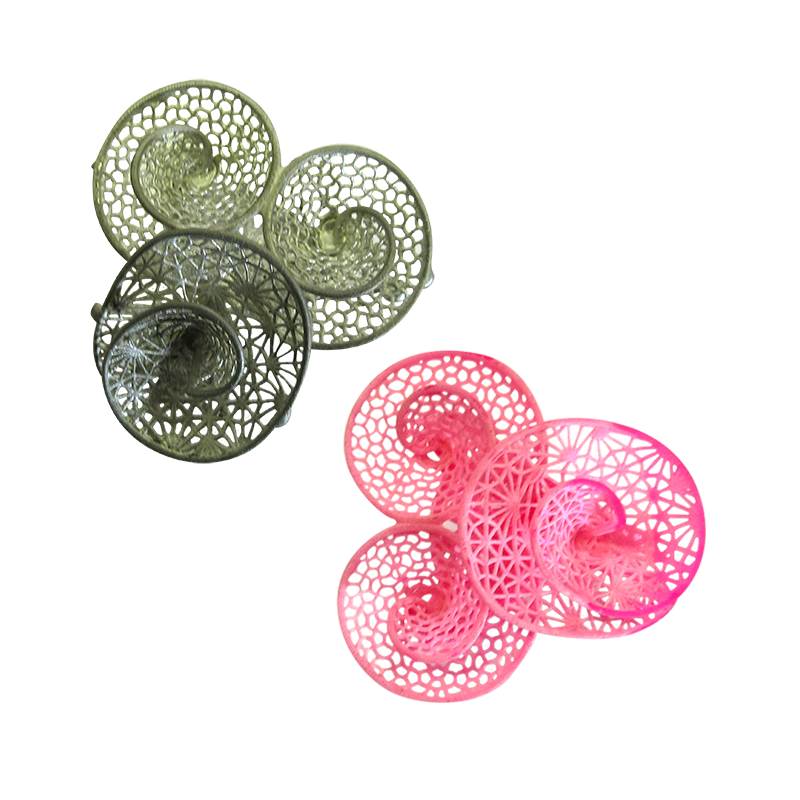
3D printing and 3D wax materials have opened new opportunities for designers and Jewellers. Through the use of Liquid Crystal 3D printers this enables manufacturing of highly customized, geometrical complex and more cost effective jewellery models. Another unique feature of the Liquid Crystal 3D printers is the time to print multiple models. Multiple models can be produced in the same time as one single model, saving you time and money